Reading Time: 14 Minutes
In 3D printing, speed is a critical factor that directly impacts the efficiency and quality of your manufacturing process. Finding the right print speed often involves some trial and error, but pushing the limits can result in a flawed final product. To prototype efficiently, it’s essential to know how to fine-tune your printing speed, reducing production time without compromising quality.
For example, Raise3D, a leader in the 3D printing space, designs high-speed printers that maintain structural integrity, even at faster print speeds. If you’re looking to optimize your 3D printing process and understand how materials influence speed, you’re in the right place. Keep reading to learn more.
What is 3D Printing Speed and Why Does It Matter?

3D printing speed refers to the rate at which the printhead moves along the X and Y axes, depositing material to create an object. This is a crucial factor because it impacts how quickly a 3D printer can complete a build. However, it’s important to note that the entire 3D printing process includes pre-processing, build, and post-processing stages, and speed is typically only measured during the build phase.
The speed at which a 3D printer operates matters for several reasons. It determines how quickly you can get from the start of a print job to the final result. Faster print speeds enable higher productivity, particularly for businesses requiring rapid prototyping or low-volume production. That said, increasing print speed without considering factors like layer height, nozzle size, and material type could lead to defects, such as poor layer adhesion or decreased surface quality, highlighting the delicate balance between speed and quality.
What is the Average Speed of a 3D Printer?
The typical print speed for a desktop 3D printer ranges from 50 to 100 mm/sec. For industrial 3D printers, which are built for larger-scale projects and higher precision, print speeds generally fall between 100 and 150 mm/sec. These speeds can vary depending on factors such as printer type, material, and print settings. In optimal conditions, certain specialized industrial models, like the Raise3D RMF500, can achieve maximum print speeds of up to 500 mm/sec, significantly reducing overall printing time.
What Are the Factors Influencing the 3D Printing Speed?
Several factors play a significant role in determining the speed of a 3D printer. Among the most important are layer height, nozzle diameter, and infill density. These elements directly affect how quickly a print can be completed, with each influencing the total print time in distinct ways. Optimizing these factors can significantly increase print speeds without sacrificing print quality or structural integrity.
Layer Height
Layer height refers to the thickness of each individual layer that the 3D printer deposits during the printing process. Thicker layers reduce the total number of layers required to complete the object, speeding up the printing process. However, the trade-off is often a loss in surface detail and precision. Thicker layers may result in a rougher surface, which can affect the visual appearance and mechanical properties of the final product. To optimize print speed, you can increase the layer height for parts where fine details are not a priority, allowing for faster production without severely impacting print quality.
Nozzle Diameter
The diameter of the nozzle through which the printing material is extruded is another critical factor in determining 3D printing speed. Larger nozzles extrude more material per pass, reducing the number of layers needed and decreasing the overall print time. However, larger nozzles also sacrifice precision, making them better suited for prints where high accuracy isn’t required. For example, a 0.8mm nozzle will print much faster than a 0.25mm nozzle, but the finer details will be compromised. For most projects, a 0.4mm nozzle is considered the standard, offering a good balance between speed and detail, enabling faster prints without overly compromising the final result.
Infill Pattern
The infill pattern refers to the internal structure of a 3D-printed object. It is essential because it affects both the strength of the part and the time required to print it. More complex patterns, like honeycomb or hexagonal designs, offer greater structural support but take longer to print. On the other hand, simpler patterns, such as a zig-zag or grid, are faster to print but might not provide as much strength, making them more suitable for non-load-bearing parts.
To optimize for speed, you should select an infill pattern that matches the needs of the project. For example, using a zig-zag pattern for less critical parts can save significant time and material, as this pattern allows the 3D printer to complete the internal structure more quickly. Additionally, reducing the density of the infill for non-functional parts can also improve the print speed without affecting the appearance of the model.
Resolution
Resolution in 3D printing refers to the thickness of each printed layer, which directly impacts both print speed and detail. Higher resolution, which involves thinner layers, allows for finer detail but increases the total print time since more layers are required to complete the object. Conversely, lower resolution means thicker layers, resulting in faster print times at the expense of surface quality.
To optimize resolution for faster prints, you can adjust the layer thickness based on the part’s intended use. For prototypes or functional parts where fine details are not crucial, using a lower resolution with thicker layers can significantly speed up the printing process. Most Fused Filament Fabrication (FFF) printers can print layers between 0.05 mm and 0.1 mm thick, while resin-based printers can go as fine as 0.01 mm.
Infill Density
Infill density refers to how much material is used within the internal structure of a 3D-printed object. A higher density increases the object’s strength, but it also extends the print time and uses more material. For non-functional or decorative parts, reducing infill density can lead to faster prints. An infill density of around 20% is usually sufficient for visual models that don’t need to bear any load or stress. Dropping the density below 10-15% can significantly reduce print time, but it may also increase the risk of a failed print.
For functional parts that require durability, a higher infill density is necessary. In these cases, optimizing the balance between strength and speed is crucial. Reducing the density for non-essential areas of the print can save time, while maintaining strength where it matters most.
Print Temperature

Print temperature plays a vital role in determining how fast a 3D print job can be completed. Higher temperatures allow the material to melt and flow more quickly through the nozzle, which can reduce print time. However, every material has an optimal temperature range, and exceeding this range can result in defects like stringing, poor layer adhesion, or warping.
To optimize for speed, you must ensure the print temperature is set correctly for the specific material you are using. For example, PLA typically prints well at 180-220°C. Increasing the temperature toward the upper end of this range can improve flow and allow for faster extrusion without sacrificing print quality. However, it’s essential to avoid going too high, as it could cause issues like poor surface quality or even damage to the printer itself.
Travel Speed
Travel speed refers to how fast the printhead moves when it’s not depositing material. This aspect is essential because the printhead needs to move between different parts of the object without extruding filament, which contributes to the overall print time. Increasing the travel speed can significantly shorten the printing process. However, you need to strike the right balance, as overly high travel speeds can lead to issues like imprecise prints or even layer shifts.
A sturdy printer frame allows for higher travel speeds, as it reduces vibrations that can affect print accuracy. By adjusting your travel speed settings within the printer’s software, you can optimize performance for quicker prints without compromising on precision.
Initial Layer Speed
The initial layer speed is critical because the first layer sets the foundation for the entire print. If the initial layer does not adhere properly to the print bed, it can result in poor-quality prints or even failed print jobs. The speed at which this first layer is printed needs to be slower than the subsequent layers to ensure solid adhesion.
To optimize 3D printing speed, keep the initial layer slow but consistent. After establishing a good base, you can increase the speed for the remaining layers to improve efficiency. This approach ensures that the object remains stable while also reducing the total print time. Using print bed adhesion techniques like applying adhesive or using a heated bed can further enhance the process, allowing for slightly faster initial layer speeds without sacrificing quality.
3D Printer Calibration

Proper 3D printer calibration is essential to achieve faster printing speeds while maintaining precision. Calibration ensures that all components of the printer, from the extruder to the print bed, are functioning correctly. Without this, print quality can suffer, and you may need to reprint objects, increasing the total print time.
- Bed Leveling: Accurate bed leveling improves the adhesion of the initial layer to the build plate, reducing the chances of failed prints and allowing for higher print speeds. A well-leveled bed ensures that the print head moves smoothly across the surface without interruption.
- Extruder Calibration: The extruder must feed filament consistently to avoid print defects and interruptions. Proper extruder calibration can minimize filament jams and ensure that filament is extruded evenly, enabling faster printing without defects.
- Temperature Calibration: Maintaining the correct temperature ensures that the filament melts at the optimal rate. Higher temperatures can sometimes allow for faster print speeds, but they must be balanced with the material’s properties to prevent poor layer adhesion.
- Axis Calibration: Calibration of the X, Y, and Z axes ensures the printhead moves precisely. Automated calibration features can save time by eliminating manual adjustments, speeding up the overall process.
Hardware Capabilities
The hardware of your 3D printer directly impacts how fast it can print. Investing in better components can significantly boost printing speeds. Here’s how:
- Hotend: Upgrading to a high-quality hotend can allow for faster filament melting and extrusion, leading to quicker prints. A hotend capable of handling high temperatures efficiently can support faster printing without leading to clogs or poor extrusion.
- Stepper Motors: Stepper motors drive the movement of the printhead and the build plate. Upgrading to more powerful motors allows the printhead to move faster without losing accuracy, reducing the overall print time.
- Extruders: A dual extruder setup or using an extruder with a larger drive gear can improve filament grip, reducing the risk of slipping. This ensures continuous and smooth filament extrusion, helping you achieve higher speeds without compromising print quality.
Slicing Software Settings
Slicing software is critical for controlling print speed and optimizing the print process. It converts 3D models into instructions for the 3D printer, including the print speed, layer height, and support settings.
- Print Speed and Layer Thickness: Increasing print speed and layer thickness in the slicing software can reduce overall printing time. Thicker layers build objects faster but may affect surface detail, so it’s crucial to strike a balance based on the part’s function.
- Acceleration and Jerk Settings: Adjusting these parameters improves the movement of the print head, ensuring faster print speeds without causing issues like poor layer adhesion or printing defects. Fine-tuning these settings optimizes the motion of the printer, balancing speed and accuracy.
Support Structures
Support structures are often necessary for complex 3D prints, but they can increase print times. Reducing the need for support structures is a straightforward way to speed up the printing process.
- Design Modifications: By modifying designs to eliminate or minimize overhangs, you can reduce or eliminate the need for support structures. This not only cuts down on the print time but also reduces the material used.
- Optimizing Support Settings: If support structures are unavoidable, adjusting their settings in the slicer software, such as using the minimum required density, can decrease print time while still providing adequate support. Choosing the right support type, like tree supports, can further speed up printing and post-processing stages.
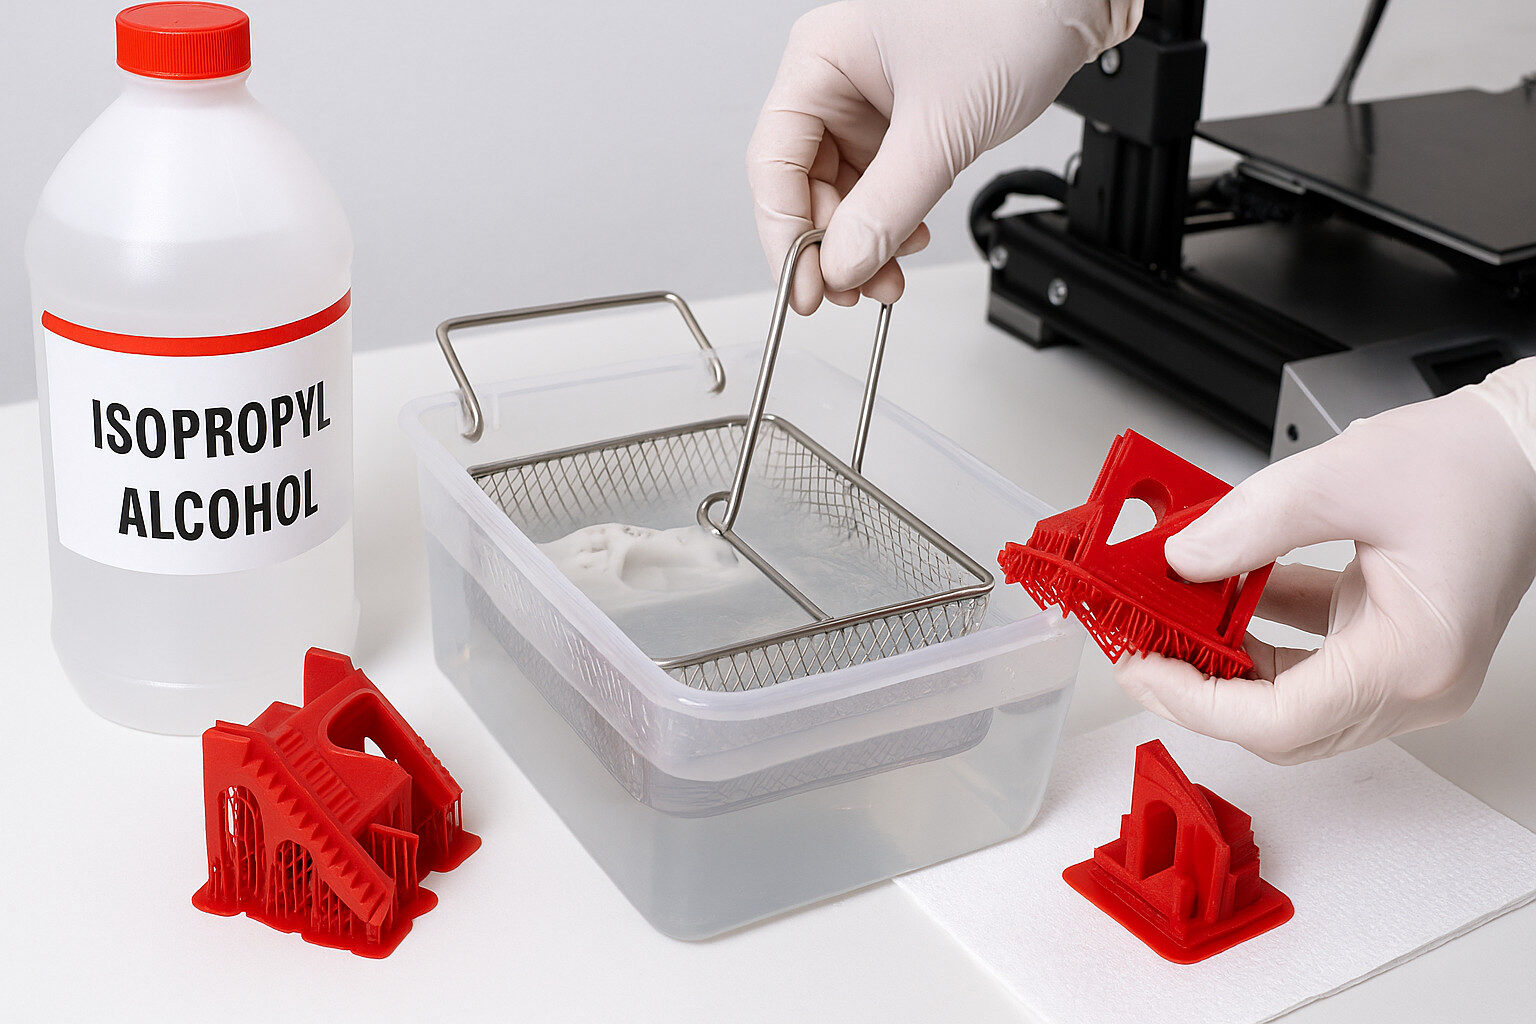
Removal
Efficient removal of support structures is essential for speeding up both the printing and post-processing stages. Supports can either be manually removed or dissolved, depending on the materials used. Some supports, made from the same filament as the object, are removed manually, while others, made from soluble filaments, dissolve in water or a chemical solution. Dual extrusion 3D printers, which can print with two different materials, allow you to use soluble support materials, making the removal process faster and easier.
Print Bed Temperature
Print bed temperature is crucial for achieving good adhesion between the first layer of the print and the bed surface. A well-calibrated bed temperature ensures that prints stick well during the printing process, reducing issues like warping and improving print speeds. To optimize this, you need to adjust the temperature according to the filament type. For instance, PLA usually prints well with a bed temperature of around 60°C. Maintaining the correct bed temperature minimizes print time by preventing failed prints, especially during the initial layers.
Ambient Temperature
The ambient temperature of your printing environment also affects the 3D printing speed and quality. Cold environments may cause layers to cool too quickly, leading to poor adhesion and slower print speeds. Maintaining a stable room temperature, ideally around 20-25°C, helps ensure consistent printing speed and reduces the likelihood of defects such as warping or poor layer bonding. For better control, use an enclosure around the 3D printer to maintain a consistent ambient temperature, helping the print head move efficiently across the build plate without issues.
Extrusion Speed
Extrusion speed refers to how fast material is pushed through the nozzle during printing. Optimizing this is crucial for balancing print speed and print quality. Increasing extrusion speed can result in faster prints, but if set too high, it may lead to poor layer adhesion or other imperfections. Fine-tuning the extrusion speed to match the material type and nozzle size ensures a smoother print process. Using a material like PLA allows for higher speeds without risking print defects, but each material requires specific calibration to achieve the maximum print speed.
Cooling and Fans
Proper cooling is essential to maintain good print quality at higher speeds. Cooling fans help solidify each layer before the next one is applied, reducing issues like warping or stringing. To optimize print speed, make sure your cooling settings are well-calibrated in the slicer software. For PLA print speed, a strong cooling fan can significantly improve print speeds by ensuring that layers cool rapidly. However, overly fast cooling can cause poor layer bonding, so adjusting the fan’s intensity based on material and print complexity is necessary for efficient and faster print speeds.
Tool Path
The tool path refers to the route the print head takes during the printing process. A well-optimized tool path minimizes unnecessary travel, helping the print head move more efficiently between different parts of the model. This reduces print times and increases overall printing speed. For faster prints, focus on using slicing software that automatically calculates and adjusts the tool path for minimal movement. You can fine-tune settings in your slicer to reduce travel time and optimize print head movement between layers, ensuring that the print process runs smoothly at high speeds while maintaining good print quality.
Part Orientation
The orientation of the part on the build plate can significantly impact both print speed and quality. Parts that are positioned parallel to the build plate require fewer layers, which shortens the overall printing time. By minimizing the height of the model in the Z-axis, you can reduce the total layer count and, in turn, lower the print time. Proper part orientation also encourages less support material, which further optimizes printing speed. Adjusting the model’s angle to the bed during the pre-processing stage helps achieve faster prints without compromising on the accuracy or structural integrity of the part.
Model Geometry and Preparation
Model geometry plays a crucial role in determining 3D printing speed. Complex models with intricate details or many separate components take significantly longer to print than simpler designs. A model’s preparation can drastically affect print time. For instance, selecting the correct orientation on the build plate can reduce or even eliminate the need for support structures. This optimization not only saves print time but also reduces post-processing stages. Keeping overhangs to a minimum and avoiding excessive fine details can speed up the printing process without sacrificing print quality. Additionally, breaking down highly detailed parts into simpler geometries can lead to faster print speeds. When preparing models, always consider how to use less material and support while optimizing the overall print settings for maximum efficiency.
Firmware Efficiency
Firmware efficiency is another key factor that can influence print speed. The firmware controls how the 3D printer executes commands, such as moving the print head and adjusting the print settings. Efficient firmware can process these commands faster, reducing the overall print time. Firmware like Klipper allows for better control over parameters like print speeds and accelerations, optimizing the entire printing process. You can fine-tune your firmware to increase print speeds without sacrificing print quality. Regularly updating your printer’s firmware ensures that you’re taking advantage of new features and improvements that can streamline the printing process. Additionally, customizing the firmware to align with your specific 3D printer’s hardware can lead to smoother, faster prints by reducing delays in the system’s response time.
Finishing
Finishing is an essential part of the 3D printing process and can significantly affect overall print time. Once the print is complete, post-processing stages such as sanding, polishing, priming, and painting are necessary for a smooth, professional appearance. The time spent on finishing depends on the quality of the print and how much surface refinement is needed. Sanding and polishing are common techniques to remove layer lines and imperfections. To minimize post-processing time, you can print with thicker layers, though this may slightly affect the surface quality.
Painting, priming, and coating also require time. Choosing fast-drying primers or spray-on coatings can reduce the overall time spent. Using fewer coatings but applying them efficiently will help maintain good surface quality without sacrificing too much time.
Type of Material

The type of material used in 3D printing is another critical factor that influences speed. Different materials, such as PLA, ABS, or PETG, have distinct properties that affect print speeds. For example, PLA is one of the easiest materials to print with, as it allows for faster print speeds without sacrificing print quality. In contrast, materials like ABS may require slower speeds due to higher extrusion temperatures and the need to avoid warping.
What Happens if You 3D Print Too Fast?
If you print too fast, the overall print quality can suffer. High speeds reduce the precision of the print head, which often leads to poor layer adhesion, stringing, or gaps between layers. Faster print speeds may also cause warping or other imperfections in complex geometries, especially if the printer’s cooling system is not efficient enough. While faster printing speeds can save time, pushing the machine beyond its optimal rate risks sacrificing print quality and may require additional post-processing.
What Happens When You 3D Print Too Slow?
Printing too slow can lead to over-extrusion and excess material buildup, which impacts the print quality. Extended print times can also cause issues like nozzle clogs and poor surface finishes due to filament overheating. While slower speeds improve accuracy and help with detailed prints, excessive slowness may result in unnecessary print time and material waste. To avoid this, you should find a balance by optimizing your print settings for the material type and complexity of the model. Printing at a moderate speed allows for maintaining quality without extending the print process unnecessarily.
How to Speed Up 3D Prints Without Losing Quality?
To speed up 3D prints without sacrificing quality, you can start by optimizing print settings such as layer height and infill density. Thicker layers reduce the total print time, while fine-tuning infill patterns can help achieve faster prints without using unnecessary material. You can also increase the print speed in your slicing software but ensure you balance the print speed with cooling settings to avoid poor layer adhesion. Adjust the travel speed to reduce print head movement between layers, and use higher quality materials like PLA, which can maintain good print quality even at higher speeds. Additionally, upgrading to a more powerful print head can help maintain detail at faster speeds
What is the 3D Printing Speed for the Different 3D Printing Technologies?
3D printing speed varies significantly across different technologies, impacting production time and quality. Each method operates with its unique approach to depositing material or curing resin, leading to varying maximum speeds and benchmarks. Below are key characteristics and speed benchmarks for several popular 3D printing technologies.
Fused Filament Fabrication (FFF)
- Normal Speed: 40-60 mm/s
- Maximum Speed: Up to 150 mm/s
Key Factors: Print speed in FFF depends on nozzle size, filament type, and print settings. Higher speeds can lead to poor layer adhesion, so optimizing settings like print head movement and cooling is essential.
Raise3D Printers: Raise3D’s FFF printers, such as the Pro3 HS Series, can reach up to 500 mm/s. The RMF500 model leads in productivity with a maximum speed of 500 mm/s and acceleration of 15,000 mm/s², making it suitable for large-scale, high-performance applications.
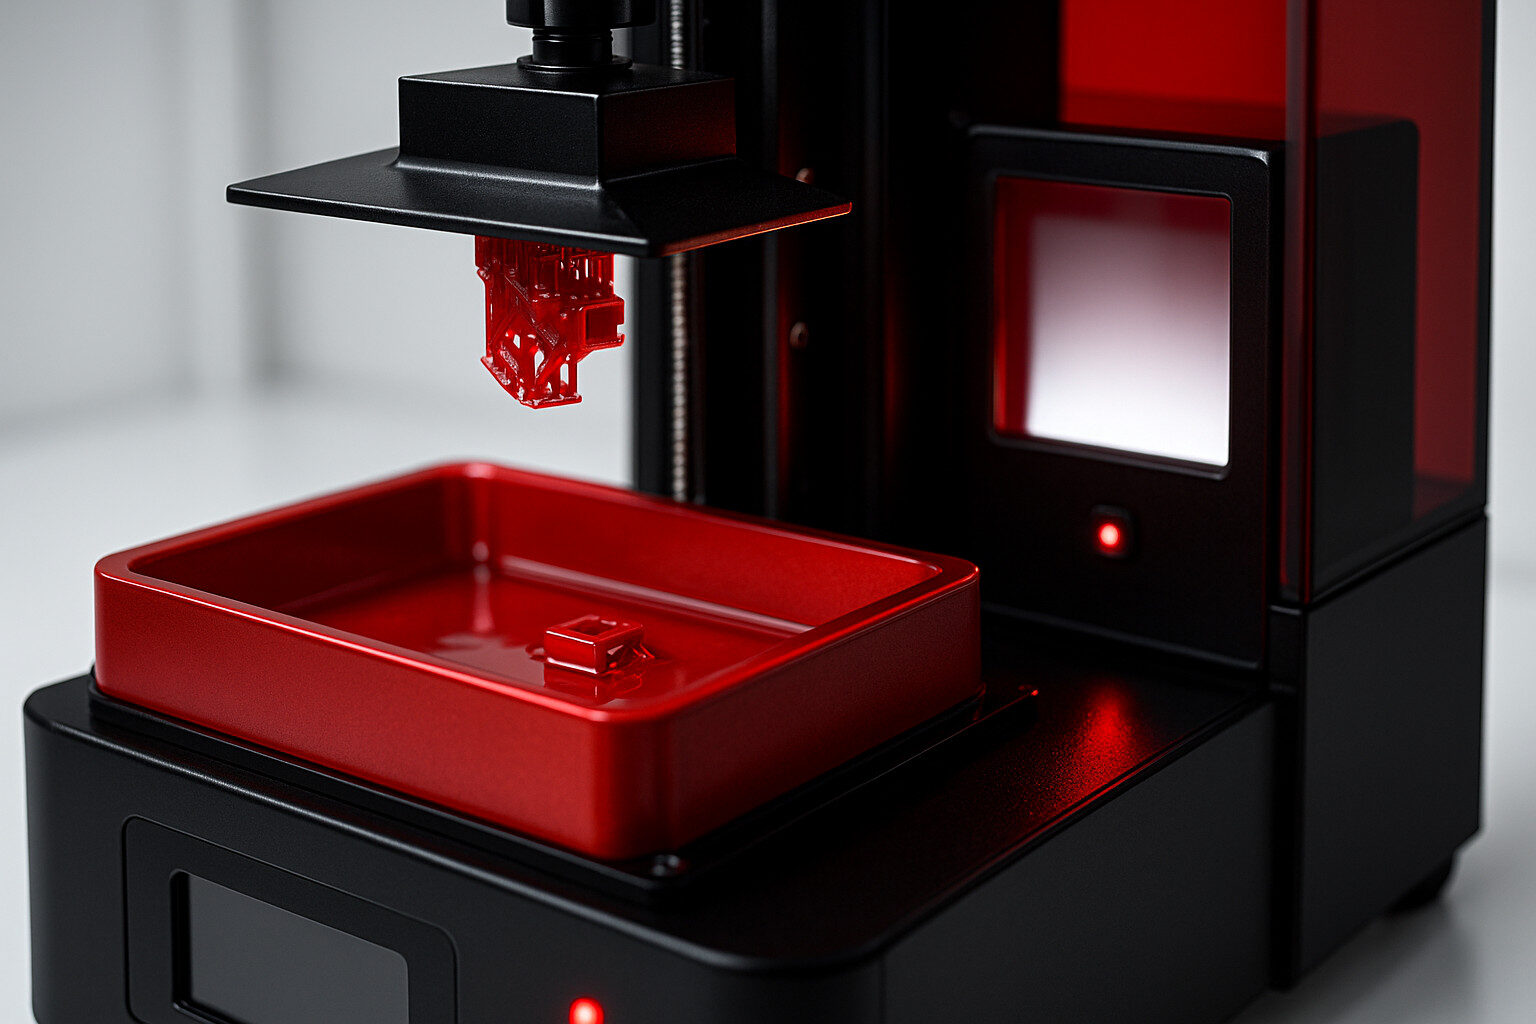
Stereolithography (SLA)
- Normal Speed: 20-50 mm/hour
- Maximum Speed: Up to 100 mm/hour
Key Factors: SLA printing speed is highly dependent on layer height and the curing process. Thinner layers improve detail but slow the printing process.
Selective Laser Sintering (SLS)
- Normal Speed: 10-20 mm/hour
- Maximum Speed: Up to 30 mm/hour
Key Factors: SLS speed relies on laser power, material type, and part geometry. Higher speeds can be achieved with simpler geometries and optimized material distribution.
Digital Light Processing (DLP)
- Normal Speed: 15-75 mm/hour
- Maximum Speed: Up to 100 mm/hour
Key Factors: DLP speed is influenced by the light source and resin type. High-performance resins and advanced light projection systems contribute to faster print speeds.
PolyJet
- Normal Speed: 10-30 mm/hour
- Maximum Speed: Up to 40 mm/hour
Key Factors: PolyJet speed is impacted by layer resolution and material type. Higher resolution settings slow down the process but enhance detail.
Binder Jetting
- Normal Speed: 15-60 mm/hour
- Maximum Speed: Up to 100 mm/hour
Key Factors: Binder jetting speed depends on the material’s binding agent and post-processing stages. While faster print speeds are possible, post-processing may extend overall production time.
3D Printing Speed for Different Types of Materials
The type of material used in 3D printing plays a crucial role in determining the printing speed. Each material has distinct melting points, density, and printability factors that influence how fast the 3D printer can operate without sacrificing print quality. Below is a table that outlines the typical and maximum print speeds for 10 common 3D printing materials, along with the key factors affecting their speed.
Material
Typical Print Speed (mm/s)
Maximum Print Speed (mm/s)
Factors Affecting Speed
PLA
50-70
Up to 150
Low melting point (180-220°C), low warping risk, quick extrusion; good for high speeds.
ABS
40-60
Up to 120
Requires high heat (230-250°C), cooling considerations, may warp at high speeds.
PETG
40-60
Up to 100
Moderate heat required (220-245°C), slower cooling needed to prevent stringing.
TPU
20-30
Up to 60
Flexible material; slow speeds help maintain accuracy and avoid deformation during printing.
Nylon
30-50
Up to 80
Requires high heat (240-260°C), prone to warping; slower speeds improve adhesion and quality.
Polycarbonate
20-40
Up to 70
High heat required (260-300°C), cooling needed for strength; slower speeds improve precision.
PEEK
10-30
Up to 50
Needs extreme heat (360-400°C); high mechanical stress affects speed.
Resin (SLA/DLP)
10-30
Up to 100 (layer-based)
Layer height and curing speed dependent; faster speeds risk poor layer adhesion.
Metal Filaments
20-40
Up to 70
Slower speeds required for proper layer fusion and avoiding internal structure issues.
Wood Filaments
40-60
Up to 100
Lower heat (190-220°C), wood particles require slower speeds for smooth finishes.
How to Choose the Right Speed for Different Materials?
When selecting the right print speed for a particular material, it’s essential to balance speed with print quality. Materials with lower melting points, such as PLA, allow for faster print speeds without affecting the final product. On the other hand, more complex or heat-sensitive materials like nylon or TPU benefit from slower speeds to maintain precision and avoid defects.
Factors like layer height, nozzle size, and cooling also play significant roles. Thicker layers can speed up the printing process, but you may lose detail. For high-performance applications, fine-tuning the settings based on material type and ensuring that slicing software is optimized for the specific material can help achieve faster print speeds without sacrificing quality.
How to Test and Find Optimal 3D Print Speeds?

Finding the right print speed for your 3D printer involves a careful balance of speed and quality. Start by using a small test model, like a calibration cube, to see how your printer performs at different speeds. Here’s a step-by-step guide to help you:
- Choose a Simple Test Model: Start with a basic shape like a cube. This ensures you can easily detect any imperfections in the print.
- Adjust Print Speed Gradually: Begin with a lower print speed, such as 50 mm/s, and gradually increase it in increments of 10 mm/s until print quality starts to degrade.
- Monitor Layer Adhesion: Pay attention to how well each layer adheres. If you notice poor layer adhesion or warping, your print speed may be too high.
- Check for Stringing and Imperfections: Look for common issues like stringing or gaps, which can indicate the printer is moving too fast.
- Fine-Tune Settings: Use your slicing software to adjust other factors like layer height and nozzle temperature in tandem with print speed to ensure smooth operation.
How Does 3D Printing Speed Influence the Cost?
Increasing 3D printing speed can lead to both benefits and drawbacks when it comes to cost. On the one hand, faster print speeds reduce the overall print time, allowing you to complete more projects in a shorter period. This can lower labor costs if you’re working on multiple prints or large-scale production.
However, faster speeds can also increase operational costs. For example:
- Energy Consumption: Running the printer at higher speeds typically requires more energy, which increases electricity usage.
- Wear and Tear: High speeds can cause greater strain on parts like the print head and nozzle, leading to faster wear and more frequent replacement costs.
- Material Waste: Faster speeds can sometimes result in print failures or defects, which means more material is wasted.
High-Speed 3D Printing Implementations
High-speed 3D printing has become an essential factor in both industrial and commercial applications. Companies looking to reduce production times without sacrificing print quality often turn to advanced 3D printers with high-speed capabilities. These printers, such as Raise3D’s Pro3 HS Series, can reach impressive speeds, up to 500 mm/s, while still maintaining precise build quality. Industrial-grade machines are designed to handle large volumes and intricate designs efficiently, making them ideal for low-volume production, rapid prototyping, and end-use part manufacturing.
In commercial settings, high-speed 3D printing enhances productivity by minimizing print times, which is crucial for meeting tight deadlines. This boost in efficiency can reduce costs related to labor and post-processing time. However, balancing speed and accuracy is critical, as printing too fast can lead to issues like poor layer adhesion and surface imperfections, requiring further adjustments in print settings or post-processing stages.
Speed Limitations by Regulation
Regulatory limitations on 3D printing speed are rare but can exist in specific settings, particularly in educational and public institutions. In schools and libraries, safety concerns often dictate maximum print speeds, especially when printing with materials that require higher temperatures, like ABS or nylon. These environments may impose restrictions to prevent overheating or machine malfunctions. Additionally, some regulations may require operators to adhere to specific guidelines that ensure the safe operation of 3D printers at high speeds, such as using proper ventilation for emissions or monitoring energy consumption.
While there are no direct government regulations limiting print speeds for commercial or industrial use, companies must still adhere to industry standards related to safety and material usage.
How Long Does 3D Printing take?
The time required for 3D printing varies depending on the complexity and size of the object. A small, simple object may take about an hour, while more intricate designs can take several hours or even days. On average, printing a cubic inch may take anywhere from 20 minutes to over an hour. The total time depends on factors like layer height, infill density, and support structure. For more details on print times, you can refer to this guide from Raise3D.
Relation Between Speed and Time
3D printing speed directly influences how long a print takes. Faster print speeds reduce the total time required, but they must be balanced to avoid sacrificing print quality. Proper print settings, like adjusting layer height and travel speed, help minimize print time without compromising precision.
The Future of 3D Printing Speed
The future of 3D printing is centered around increasing print speeds without compromising quality. Innovations such as high-performance composite materials and advanced slicing software are pushing the limits of current print speed capabilities. One area of focus is developing printers that can maintain faster speeds while reducing errors such as poor layer adhesion. Dual extrusion and multi-material printing, combined with more precise print heads, are expected to drastically reduce print times. Automation in post-processing and real-time monitoring will also play key roles in speeding up the entire printing process, allowing manufacturers to produce parts in a fraction of the time.
Are 3D Printers Getting Faster?
Yes, 3D printers are consistently becoming faster as technology advances. Improved hardware, better software, and new materials have allowed for significant gains in print speed without sacrificing print quality. Modern 3D printers are equipped with advanced features such as faster print heads, optimized nozzle designs, and smarter slicing software that improves efficiency in the printing process. These enhancements allow for greater precision at higher speeds, reducing overall print times and making 3D printing more accessible for a variety of applications.
Raise3D Pro3 HS Series: Advancing Print Speeds
Raise3D has been at the forefront of increasing 3D printing speed with their Pro3 HS Series, incorporating Hyper FFF® technology. This innovative feature enables high-speed, reliable printing with precision. With a high-flowrate hot end and active vibration reduction, the Pro3 HS Series offers standard printing speeds of 300 mm/s, even for high-performance materials. Additionally, the Pro3 HS Series can reach speeds of 200-300 mm/s using Hyper Core materials, which reduces print times by 30% to 70% depending on the model size. This marks a substantial improvement compared to previous models, ensuring faster prints without compromising on quality.
Conclusion
This article has highlighted the key factors that influence 3D printing speed, including how print speed affects quality, cost, and efficiency. By optimizing settings, selecting the right materials, and leveraging the full capabilities of your printer, you can reduce print times while still achieving excellent results.
As 3D printing technology continues to advance, we can expect even faster speeds without sacrificing quality. Future innovations will likely focus on perfecting the balance between high-speed production and precision, unlocking new possibilities for industrial, commercial, and personal applications.
FAQs
Is It Better to 3D Print Fast or Slow?
It depends on the project. Printing at higher speeds reduces print time but may compromise print quality, especially with intricate designs. Slower speeds generally lead to more accurate prints with better layer adhesion and surface finish, making them ideal for detailed projects.
Do Slower 3D Prints Look Better?
Slower print speeds often result in better print quality. When you print at a lower speed, the print head moves more precisely, reducing errors like poor layer adhesion and other imperfections. This creates smoother surfaces and finer details, especially in complex designs, ensuring fewer issues with layer height and material flow.
How Fast Can Industrial 3D Printers Print?
Industrial 3D printers can reach impressive speeds, with many capable of printing up to 500 mm/s. These printers often use advanced technology to maintain print quality at high speeds, optimizing the printing process while reducing overall print times and post-processing requirements.